Installation Guide
Typewriter only works on paper servers. It will not work on Spigot or Bukkit servers.
Installing the Typewriter Plugin
Ensure a smooth installation process for the Typewriter plugin on your Paper Minecraft server by following these steps:
Plugin Installation
- Start by downloading the Beta version via this Modrinth link.
- Place the downloaded plugin into your server's
pluginsfolder.
Handling Dependencies
Typewriter relies on additional plugins that need to be installed for proper functioning.
-
Download and add Typewriter's dependency, PacketEvents, to your
pluginsdirectory. -
Verify that you don't have the InteractiveChat or CustomNamePlates (Version 3.0.15 or lower) plugin installed, as it may cause conflicts with Typewriter.
Basic Extension
The Typewriter offers various extensions for customization, but it's crucial to have the BasicExtension installed.
- Download the latest
BasicExtensionfrom the Beta version via this Modrinth link and add it to theplugins/Typewriter/extensionsfolder.
For a comprehensive list of available extensions, refer to the extensions section.
- With all components in place, restart your Minecraft server to complete the Typewriter installation.
When updating the plugin, it's crucial to always install the corresponding extensions for that update. Failure to match the versions of the extension and plugin can result in the plugin not functioning correctly!
Configuring the Web Panel
Typewriter's web panel is not compatible with some external server providers, including Minehut, Aternos, and Apex. These providers typically don’t support multiple ports, though their support team may be able to open additional ports upon request.
If this isn't possible, you can still use all other features in Typewriter or consider setting up a local server with Typewriter installed.
For further assistance, feel free to reach out with questions on our Discord.
Please note that the web panel and web socket use precious resources on your server, and it is best to host the panel on your development server instead of on a production server.
Now that we have installed the plugin, we need to configure the web panel.
The web panel needs two ports to be open. These can be changed, but it does need at least two new ports to be open. The
The default ports are 8080 and 9092.
To enable the web panel, please follow these steps:
Enabling the Web Panel
- Open the
plugins/Typewriter/config.ymlfile. - Change the settings to the following:
# Whether the web panel and web sockets are enabled.
enabled: true
# The hostname of the server. CHANGE THIS to your server's IP.
hostname: "127.0.0.1"
# The panel uses web sockets to sync changes to the server and allows you to work with multiple people at the same time.
websocket:
  # The port of the websocket server. Make sure this port is open.
  port: 9092
  # The authentication that is used. Leave unchanged if you don't know what you are doing.
  auth: "session"
panel:
  # The panel can be disabled while the sockets are still open. Only disable this if you know what you are doing.
  # If the web sockets are disabled, then the panel will always be disabled.
  enabled: true
  # The port of the web panel. Make sure this port is open.
  port: 8080
- Please use portchecker to check if your ports are open. If not, please open the ports yourself or contact your hosting company.
- Restart your server to complete the installation.
Connecting to the Web Panel
To connect to the web panel, follow these steps:
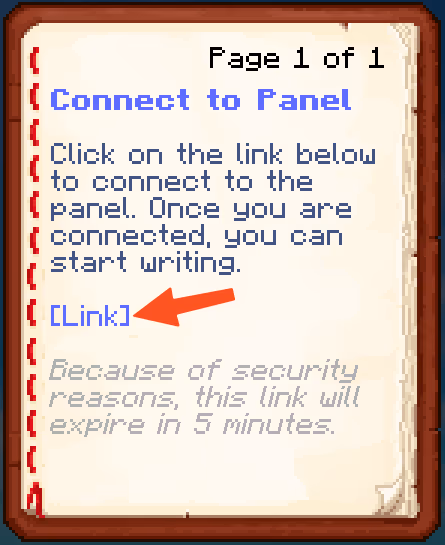
- Run the command
/typewriter connectin-game. This will provide you with a link to access the web panel.
![]()
- Open the link in your preferred web browser.
Once you've successfully connected, you can use the web panel to create and configure quests, NPC dialogues, and more. The panel also allows you to view and edit your server's existing player interactions.
Troubleshooting
Encountering problems? Check out the troubleshooting page for solutions to common issues. If you still have issues, feel free to ask for help in the Discord.
What's Next?
Try creating your first interaction by following the Interactions guide. If you have any questions, feel free to ask them in the Discord.